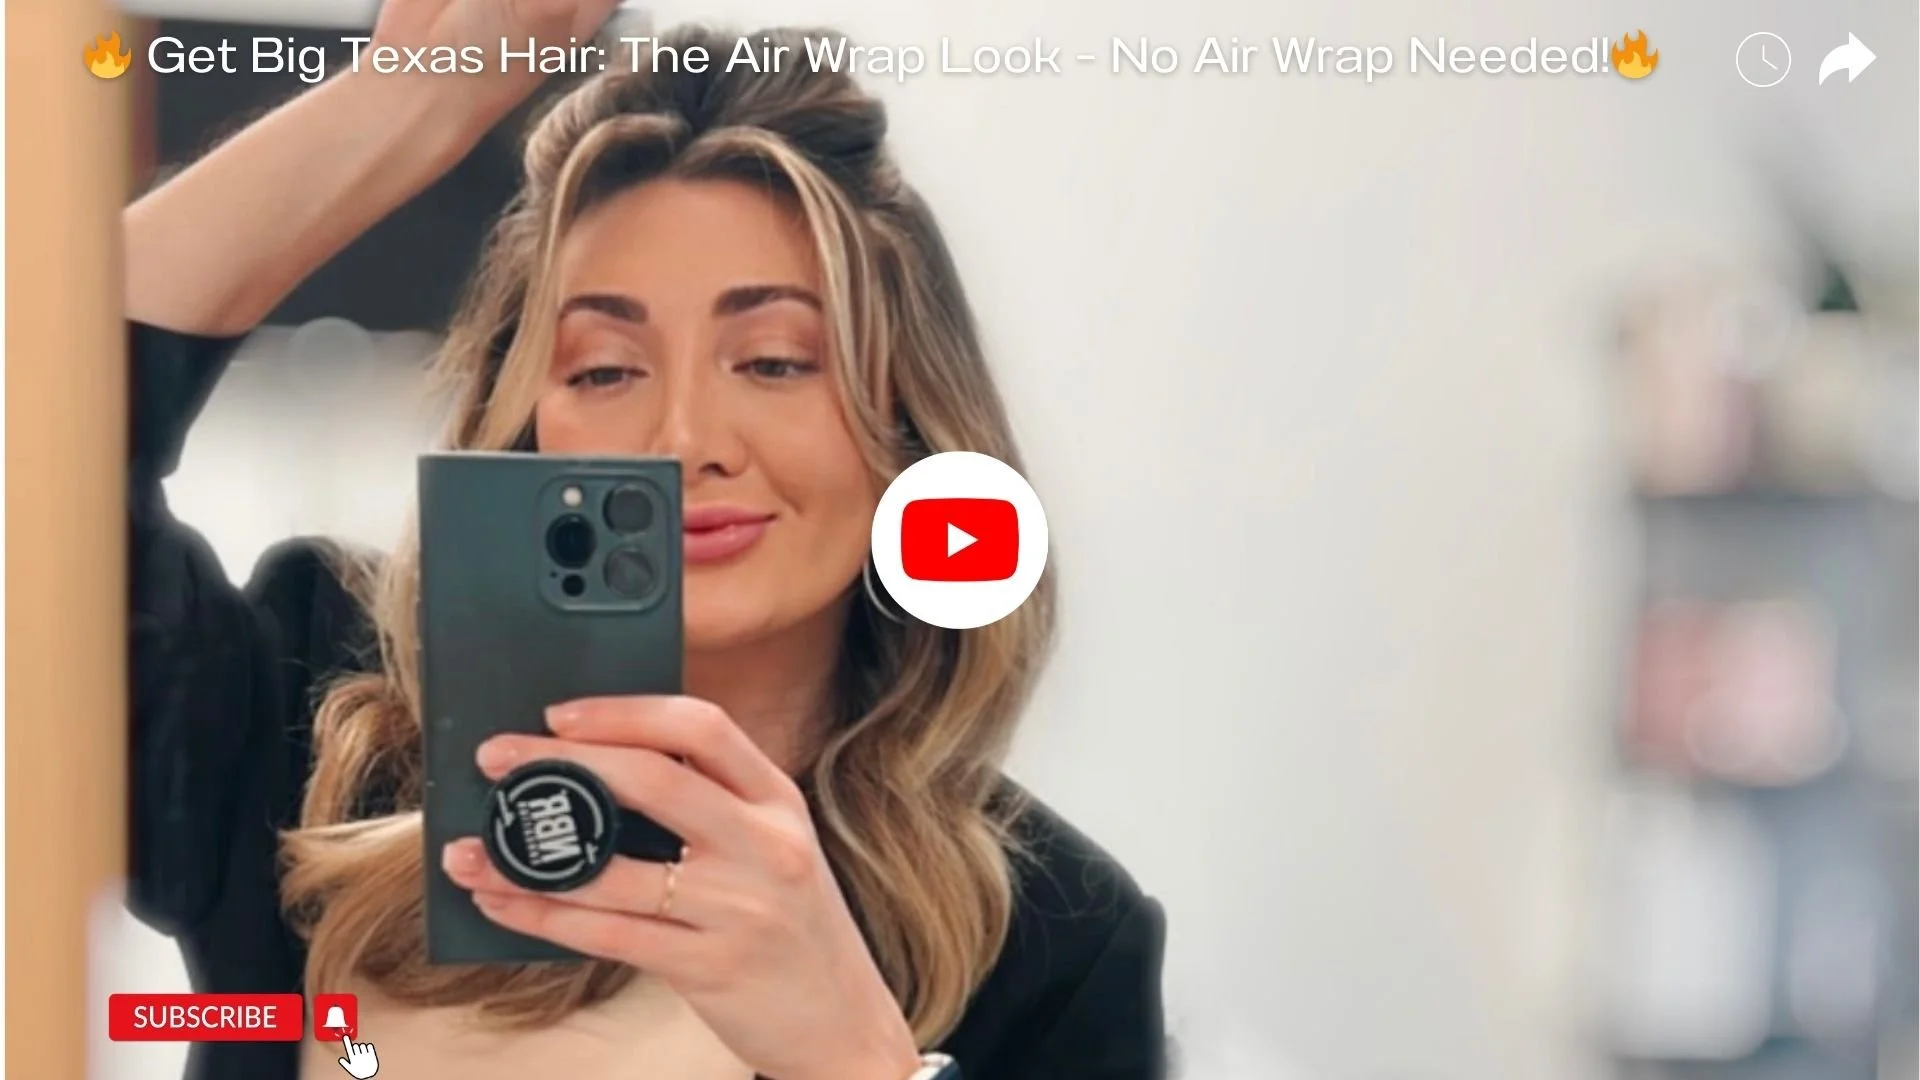
Get Big Texas Hair: The Air Wrap Look - No Air Wrap Needed!
WARNING: THIS LOOK WILL RESULT IN 'MAIN CHARACTER' ENERGY... PROCEED WITH CAUTION
In the heart of San Antonio, Texas, we know that bigger hair means better hair! You've seen those enviable air wrap looks that seem reserved for long tresses and wondered how to achieve the same voluminous, 90s-inspired style with your short locks. The problem? You don't want to invest in an air wrap and you're not quite sure how to confidently recreate that iconic look at home. But guess what, short hair girlies? It's time to embrace your desire for that main character energy because we've got the solution you've been dreaming of. This step-by-step guide will teach you how to create the famous air wrap look right at home, using what you have – no air wrap required. Say hello to Texas-sized hair that's bound to turn heads!
Step 1: Prepping Your Hair
To begin, grab your favorite heat protectant; we recommend 2 pumps of Kevin Murphy Young Again Oil, a trusted brand.
Start applying the protectant to your hair, starting from the ends and working your way up.
I like to start by curling my bangs and a crown first. Curl them and secure them with velcro rollers while you take care of your makeup and getting dressed.
Step 2: Section and Style
For an organized styling process, divide your hair down the middle in the back, creating two equal sections.
By doing this, you're ensuring your hair stays neat and manageable throughout the process.
Once your section is ready, you can take slightly larger portions than usual, smoothing over each section and beginning your curl!
For that iconic air wrap look, remember to hold your curling iron horizontally and run it through your hair, right to the ends.
Step 3: The Curling Process
It's time to get those bouncy, voluminous curls.
Begin with one section and curl your hair from the top to ensure volume at the root, carefully working your way down.
Keep the curling iron horizontal, and make sure you're running it through the entire length of the hair.
This precise technique is what gives you that uniform, stunning texture we're aiming for. Don't forget to repeat on the other side.
Step 4: Cool and Set
Give your newly styled curls a moment to cool down. (5-10 minutes)
Once they've cooled, enhance their hold by spritzing them with your preferred texture spray.
Now, it's time to unveil your beautifully styled bangs and crown by removing the velcro rollers.
Gently brush your hair using an ISLA brush or a wide-toothed comb, blending those luscious curls.
If needed, touch up any pieces that might require a little extra attention.
Step 5: You're Ready to Shine!
Stand back and admire your incredible, voluminous hair – you've successfully recreated the air wrap look without braking the bank!
Feel the confidence surging, that unmistakable main character energy radiating from your flawless hair.
Embrace and flaunt your Texas-sized hair with confidence!
For more detailed tutorials, incredible hair looks, and top-secret tricks to help you achieve the hair of your dreams, head over to my YouTube page. Your journey to fabulous hair has only just begun!

